
In this guide:
- Why the “Ensure text remains visible during webfont load” alert occurs
- Download and install Google Fonts as a Webflow Custom Font
- Optimize your installed Google Fonts
- Tracking down any remaining “Ensure text remains visible during webfont load” alerts
One of the most common ways to optimize a font is to apply the font-display: swap CSS property so that the block time of a custom font is reduced to almost zero, and the swap time is infinite. This allows the desired font to load for as long as needed without blocking the page load, and once loaded the browser will swap in the desired font.
Problem & Solution
The Problem
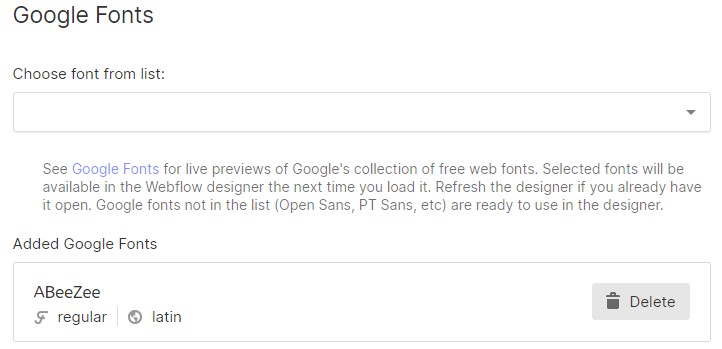
If you’re using Google Fonts that were installed via the Webflow interface (see photo below), Webflow does not apply font-display: swap to them, so when they’re used in your page, you will not have the optimizations that font-display: swap provides and will receive the “Ensure text remains visible during webfont load” alert in Google PageSpeed Insights.

The Solution
To fix this, we need to stop using Google Fonts that have been installed using the Webflow Google Fonts interface and instead download them from Google Fonts directly, upload them as custom fonts and then optimize them in the “Installed Fonts” chart through use of the Font Display property. The step-by-step guide below will take you through how to do this.
Step-by-Step
Before We Begin
For this guide, we’ll be using the ABeeZee Google Font. We have installed it via the Webflow interface and will be using it throughout this guide. You’ll be able to implement virtually the same procedure for any Google Font as of writing this.
Step 1 - Google Fonts Website
- Go to the Google Fonts website - https://fonts.google.com/
Step 2 - Find Your Font
- Search for your desired font via the search bar in the top left, for this example we'll be typing "ABeeZee"

Step 3 - Font Search Results
- Find your font in the search results below, click on it

Step 4 - Download Your Font
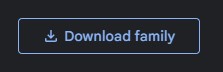
- With your desired font selected, click on the "Download family" in the top right
Step 5 - Extract Your Font
- Your download should be in a zip file, extract it and examine the contents
- Some fonts have multiple files for different formats/styles. For our example font, ABeeZee, there are two files - one for regular, and one for italic

Step 6 - Back to the Project Settings
- Go to your website's Project Settings in Webflow
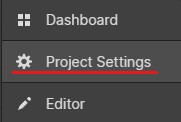
- Enter the Webflow Designer and click on the navicon (hamburger menu) in the top left corner
- Click on "Project Settings" in the menu that opens
Step 7 - Project Settings > Font Tab
- Once in the Project Settings, select the "Fonts" tab in the top bar

Step 8 - Upload Your Custom Fonts
- From the “Fonts” tab, scroll down to “Custom Fonts” and click on the “Upload” button. A file explorer should open, select your downloaded font files, in our example, we’ll upload our TTF files namely “ABeeZee-Italic.ttf” and “ABeeZee-Regular.ttf”

Step 9 - Configure Your Uploaded Fonts
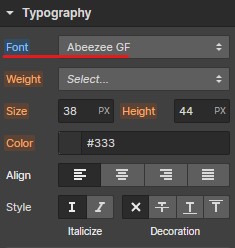
- Once your files are uploaded, you should see a small configuration menu open per file (see image below)
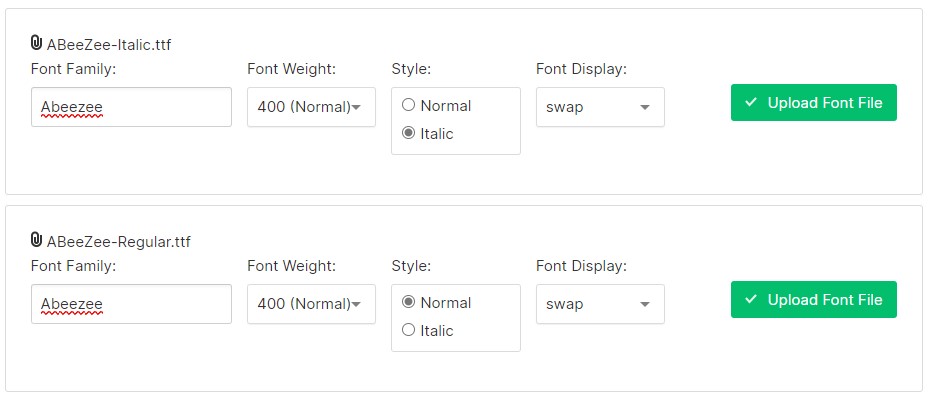
In the configuration menu, you can set some settings such as the Font Family, Font Weight, Style, and Font Display. A brief description of each can be found below.
- Font Family: The name of the font that shows up in the Webflow Designer. If you set multiple font files with the same Font Family, then they will be grouped together under one name in the Designer
- Font Weight: This is how bold your font is. Some fonts have different files for different levels of boldness/font weight
- Style: Whether the font is normal, or italic
- *IMPORTANT* Font Display: Based on the CSS property of the same name (font-family), set this to “Swap” to prevent the “Ensure text remains visible during webfont load”
In our example, I’ve set the Font Family properties for both uploaded files to “Abeezee GF” to indicate it’s a Google Font that’s been uploaded, and not installed by Webflow. By setting them both to “Abeezee GF” the two different files will be used when appropriate. When you select the normal style in the Designer, the “ABeeZee-Regular.ttf” file will be used, when the style is set to Italics, the “ABeeZee-Italic.ttf” file will be used.
Step 10 - Upload Your Configured Fonts
- Once you've configured your font file(s), click on the "Upload Font File" button(s)
Step 11 - Use Your Configured Fonts
- After the uploads and configurations are complete, find all the elements that you applied a Webflow-installed Google Font to and change the “Font” property to the newly uploaded version
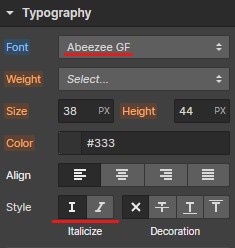
- To do so, go to the Webflow Designer and select an element that has a Webflow-installed Google Font as its font. In the screenshot below, you can see that we've selected a byline element

- With the byline element still selected, you can see that the font is set to the Webflow-installed Google Font called "ABeeZee" - this can be seen under "Typography" in the right-side menu

- Change the Font to the newly installed "Abeezee GF"
- Repeat these steps for all elements that are using a Webflow-installed Google Font, replacing all the Webflow-installed versions with your uploaded custom font versions
- Remember to publish the website after you've made your changes
- After these changes your “Ensure text remains visible during webfont load” Google PageSpeed Insights alert should be cleared. If it's still there, refer to the section below
Still Having Trouble?
If you’re still experiencing the “Ensure text remains during webfont load” warning on Google Fonts, you need to ensure that all the fonts you’re using have the Font Display property set to “swap.” This includes the Google Fonts that you’ve uploaded via this guide, but also any other fonts that you may be using.
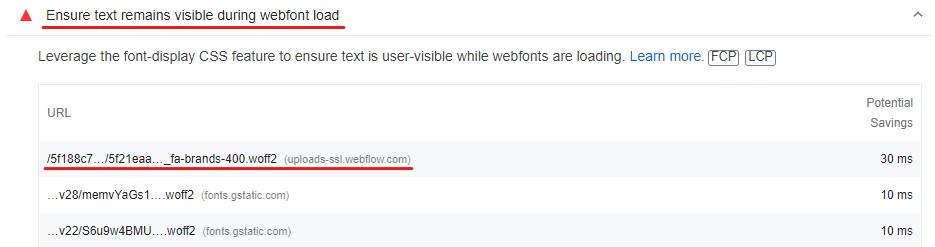
It can be challenging to track down the culprit, but the Google PageSpeed Insights interface can help you narrow it down. If you click on the “Ensure text remains visible during webfont load” warning, it will tell you which font files are the issue. In the screenshot below, you can see that the font file “fa-brands-400.woff2” is the issue.
Back in the Webflow Project Settings, you can see there is no Font Display property set on our fa-brands font families…
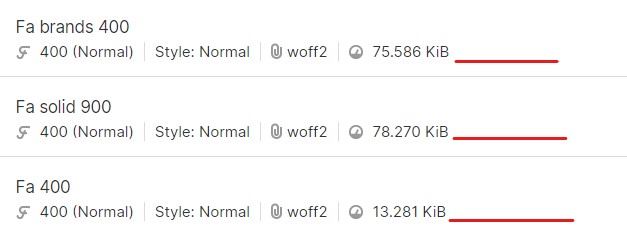
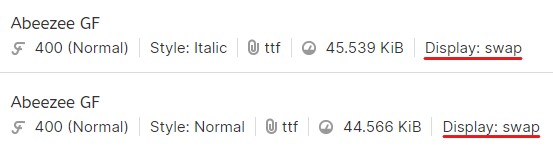
…versus the Font Display property being set to Swap for the fonts we installed in this guide.
To fix the Font Display property in the Installed Fonts please follow this guide.
