
In this guide...
- font-display: swap – What it is and how it works
- Adjusting your Font Display (font-display) property on Webflow Custom Fonts
What is Font Display (font-display: swap)
One of the most common ways to optimize a font is to set the CSS property font-display to swap. By doing this you’re lowering the block time that the font has on the page load and allowing it to swap to the desired font face at any time. For example, if you have a font called "Font 1" that takes 10 seconds to load, instead of stopping/blocking the page load for those 10 seconds, font-display: swap gives the browser the power to load the page without that blocking time and swap over to "Font 1" after it has loaded. During this loading time, the browser will use the fallback font in place of "Font 1."
Depending on how many fonts you have and how long they take to load, you could see a considerable increase in your page's load time, which should also improve your Google PageSpeed Insights score.
Webflow allows you to set the font-display property on any custom font that you have installed right from your project’s settings.
If you’re using Google Fonts…
Webflow does not offer any font-display controls for Google Fonts installed via their interface, leaving all your Google Fonts unoptimized. Luckily, there is a no-code solution to this problem that you can read about here.
Step-by-Step: Adjusting the Font Display for Custom Fonts
Step 1 - Project Settings
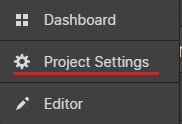
- Go to the Project Settings
- To get there, when you’re in the Designer, click on the top left icon and select the “Project Settings” button
Step 2 - Fonts Tab
- Click on the “Fonts” tab on the top bar

Step 3 - Custom Fonts
- Scroll down to the “Custom Fonts” section and find the table that shows your “Installed Fonts”
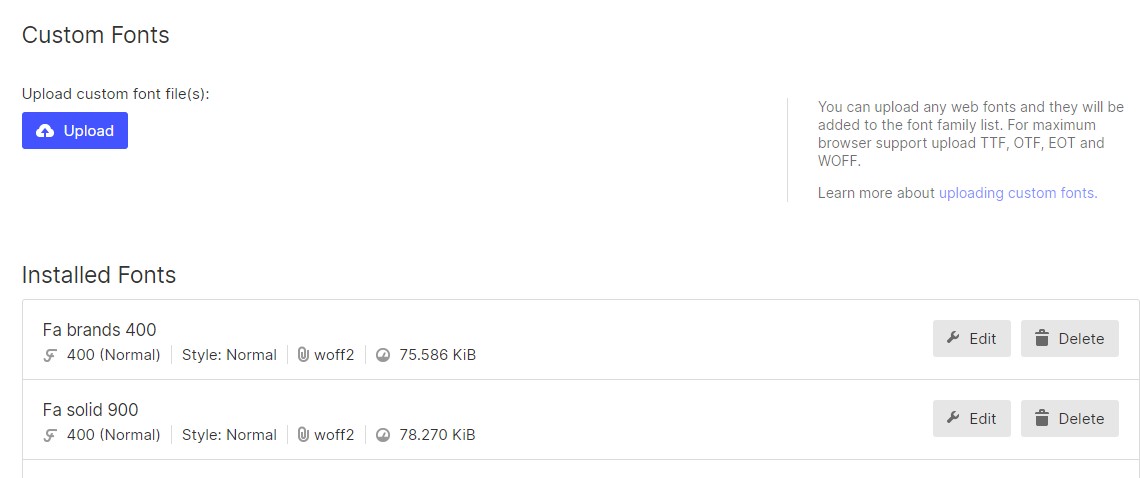
Step 4 - Installed Fonts & Font Display
- In the “Installed Fonts” table, find the font you want to optimize and select the “Edit” button

- Some editable options will appear, including the “Font Display” dropdown menu

- Click on the dropdown and select “Swap” from the list

- Save your changes by clicking on the "Save" button

- Repeat the process in Step 4 for any of your installed fonts that you want to optimize.
Step 5 - Publish Your Website
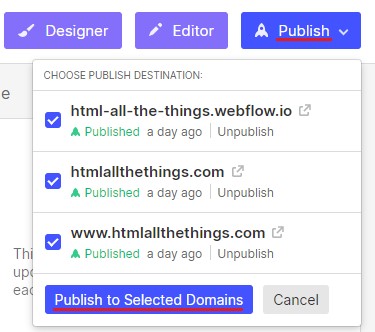
Make sure you publish your website, so the changes take affect!
Scroll up to the top of the Project Settings and click "Publish" in the top right corner, followed by "Publish to selected domains" (ensure the domains you want to publish to have a checkmark beside them)
Conclusion
And that’s it! Once you’ve completed these steps, your webpages should load a little (or a lot) faster depending on the size and quantity of fonts you have in use. This should also clear up any “Ensure text remains visible during webfont load” messages from Google PageSpeed Insights. If you’re still seeing this message, ensure all the fonts you’re using have font-display set to swap. If you’re using Google Fonts and still seeing this message, click here to learn how to fix it.
Helpful Related Resources
If you'd like to learn more about the font-display property we think you'll be interested in these articles:
